
September 24, 2020
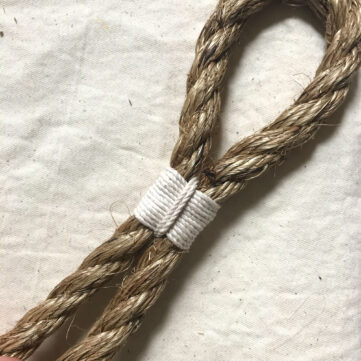
Seizing
An endlessly useful technique! And just one of many methods to approach it...
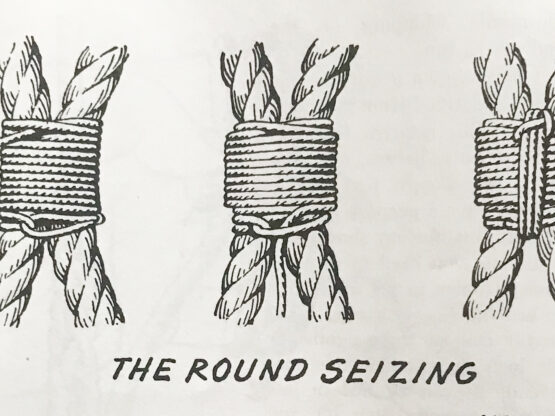
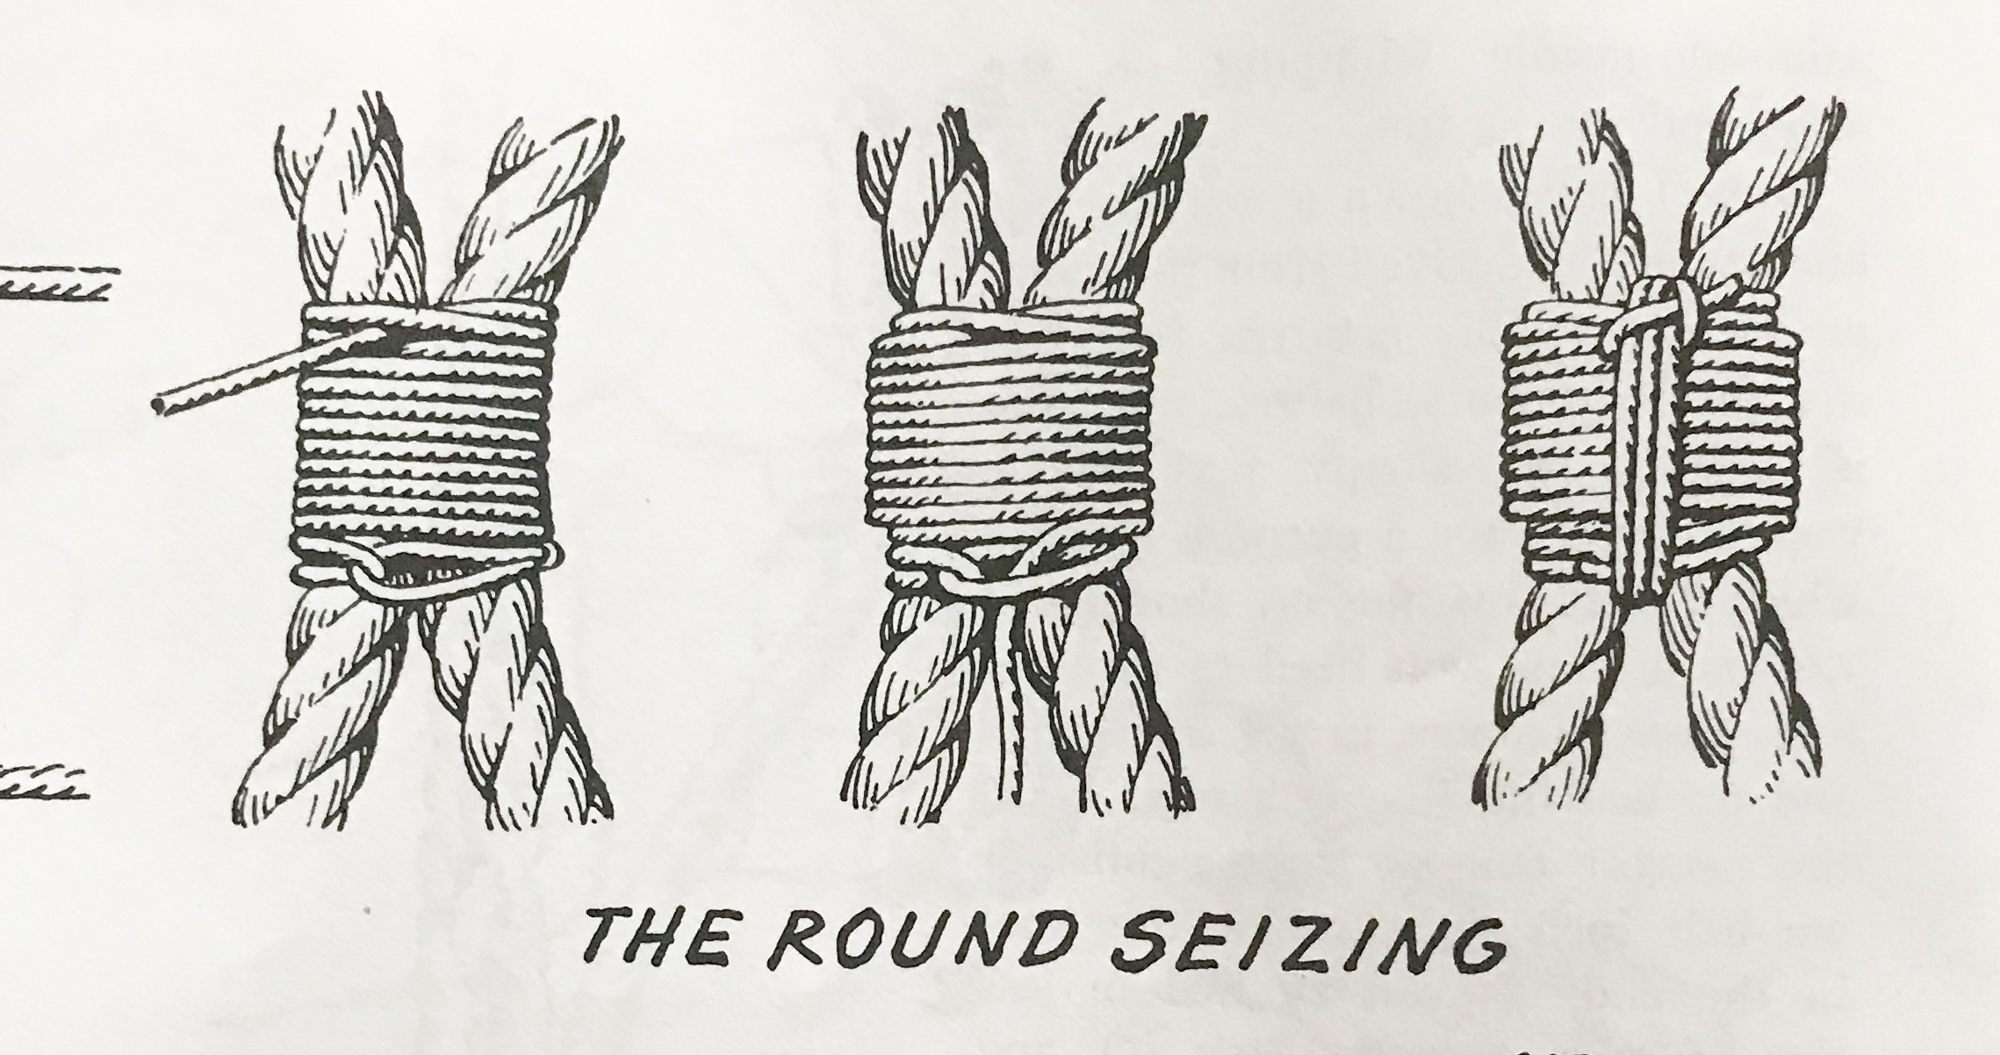
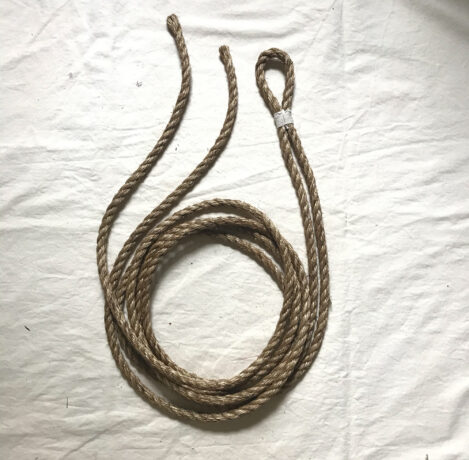
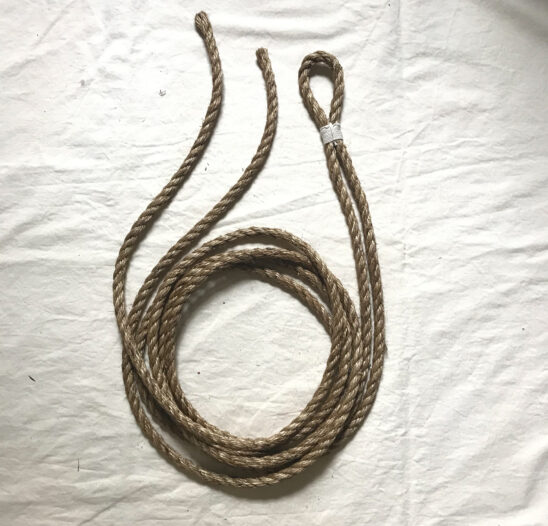
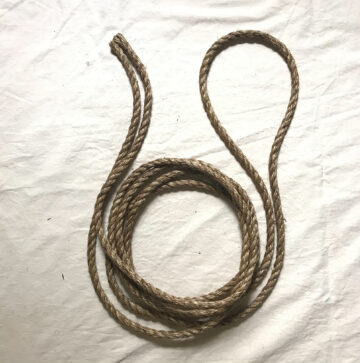
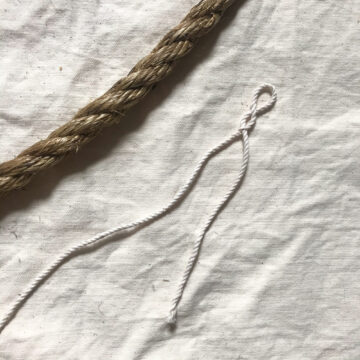
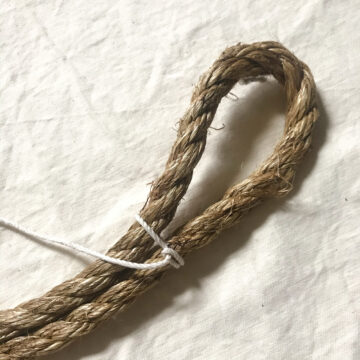
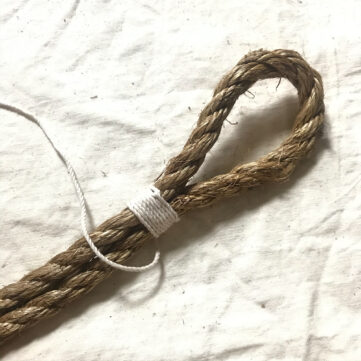
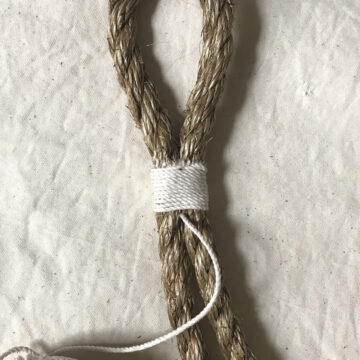
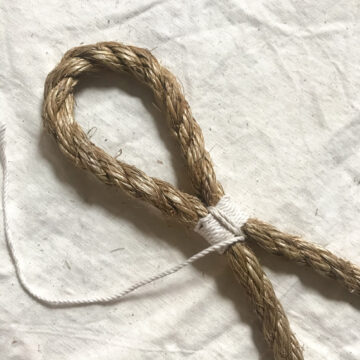
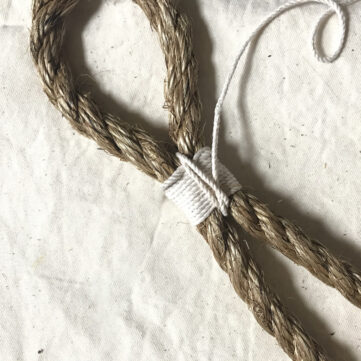
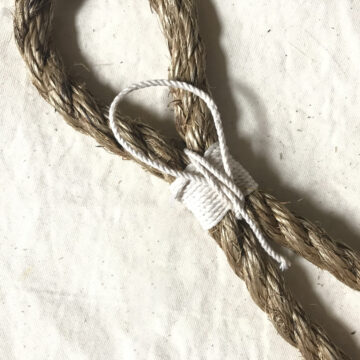
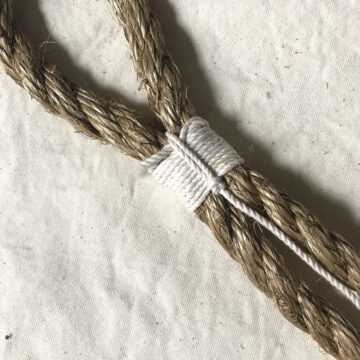
Sometimes you want to make an eye in a line without having to splice it. In this case, you might try your hand at seizing. This is just one way to do it (we followed instructions from Ashley's Book of Knots) but there are many ways you could approach it. Let us know what your preferred method is in the comments if you like to do things differently! We might not rely on this method if our lives depended on it, but it looks perfectly nice as a decorative seizing. A note on materials: a fid is a very useful tool that is pointed but not sharp. They come in a variety of styles shapes and sizes, and they are useful for many different tasks - for example, to help thread strands through tight spaces, as in the final stages of this project or when you are splicing heavy line. Don't worry if you don't have one - you can use a flat screwdriver or anything small, blunt and thinner than your fingers that works for you.
Supplies:
Rope
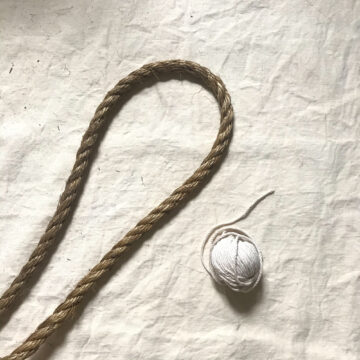
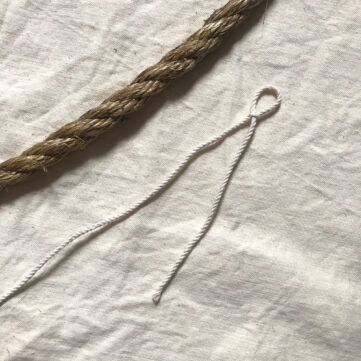
Marlin or twine
Scissors
A fid (optional)
Instructions:
Now if you want to see how the real experts do it on big ships, check out this video from the rigger on the Charles W. Morgan restoration a few years ago at the Mystic Seaport Museum!
We hope you enjoyed this project! Let us know what you think in the comments. As with all our At Home Activities we would love to hear what you thought of this project. Share your photos with us by emailing us at [email protected], posting on our Facebook page or tagging us on Instagram @herreshoff #HerreshoffFromHome, especially if you got the kind of expert assistance we did while trying to do this at home...

Brilliant! Apart from where it says pick a wrap then it says pick the 2nd wrap, that’s not really clear but it seems to have worked nonetheless. What knot exactly is being tied there too I wonder, some kind of hitch?