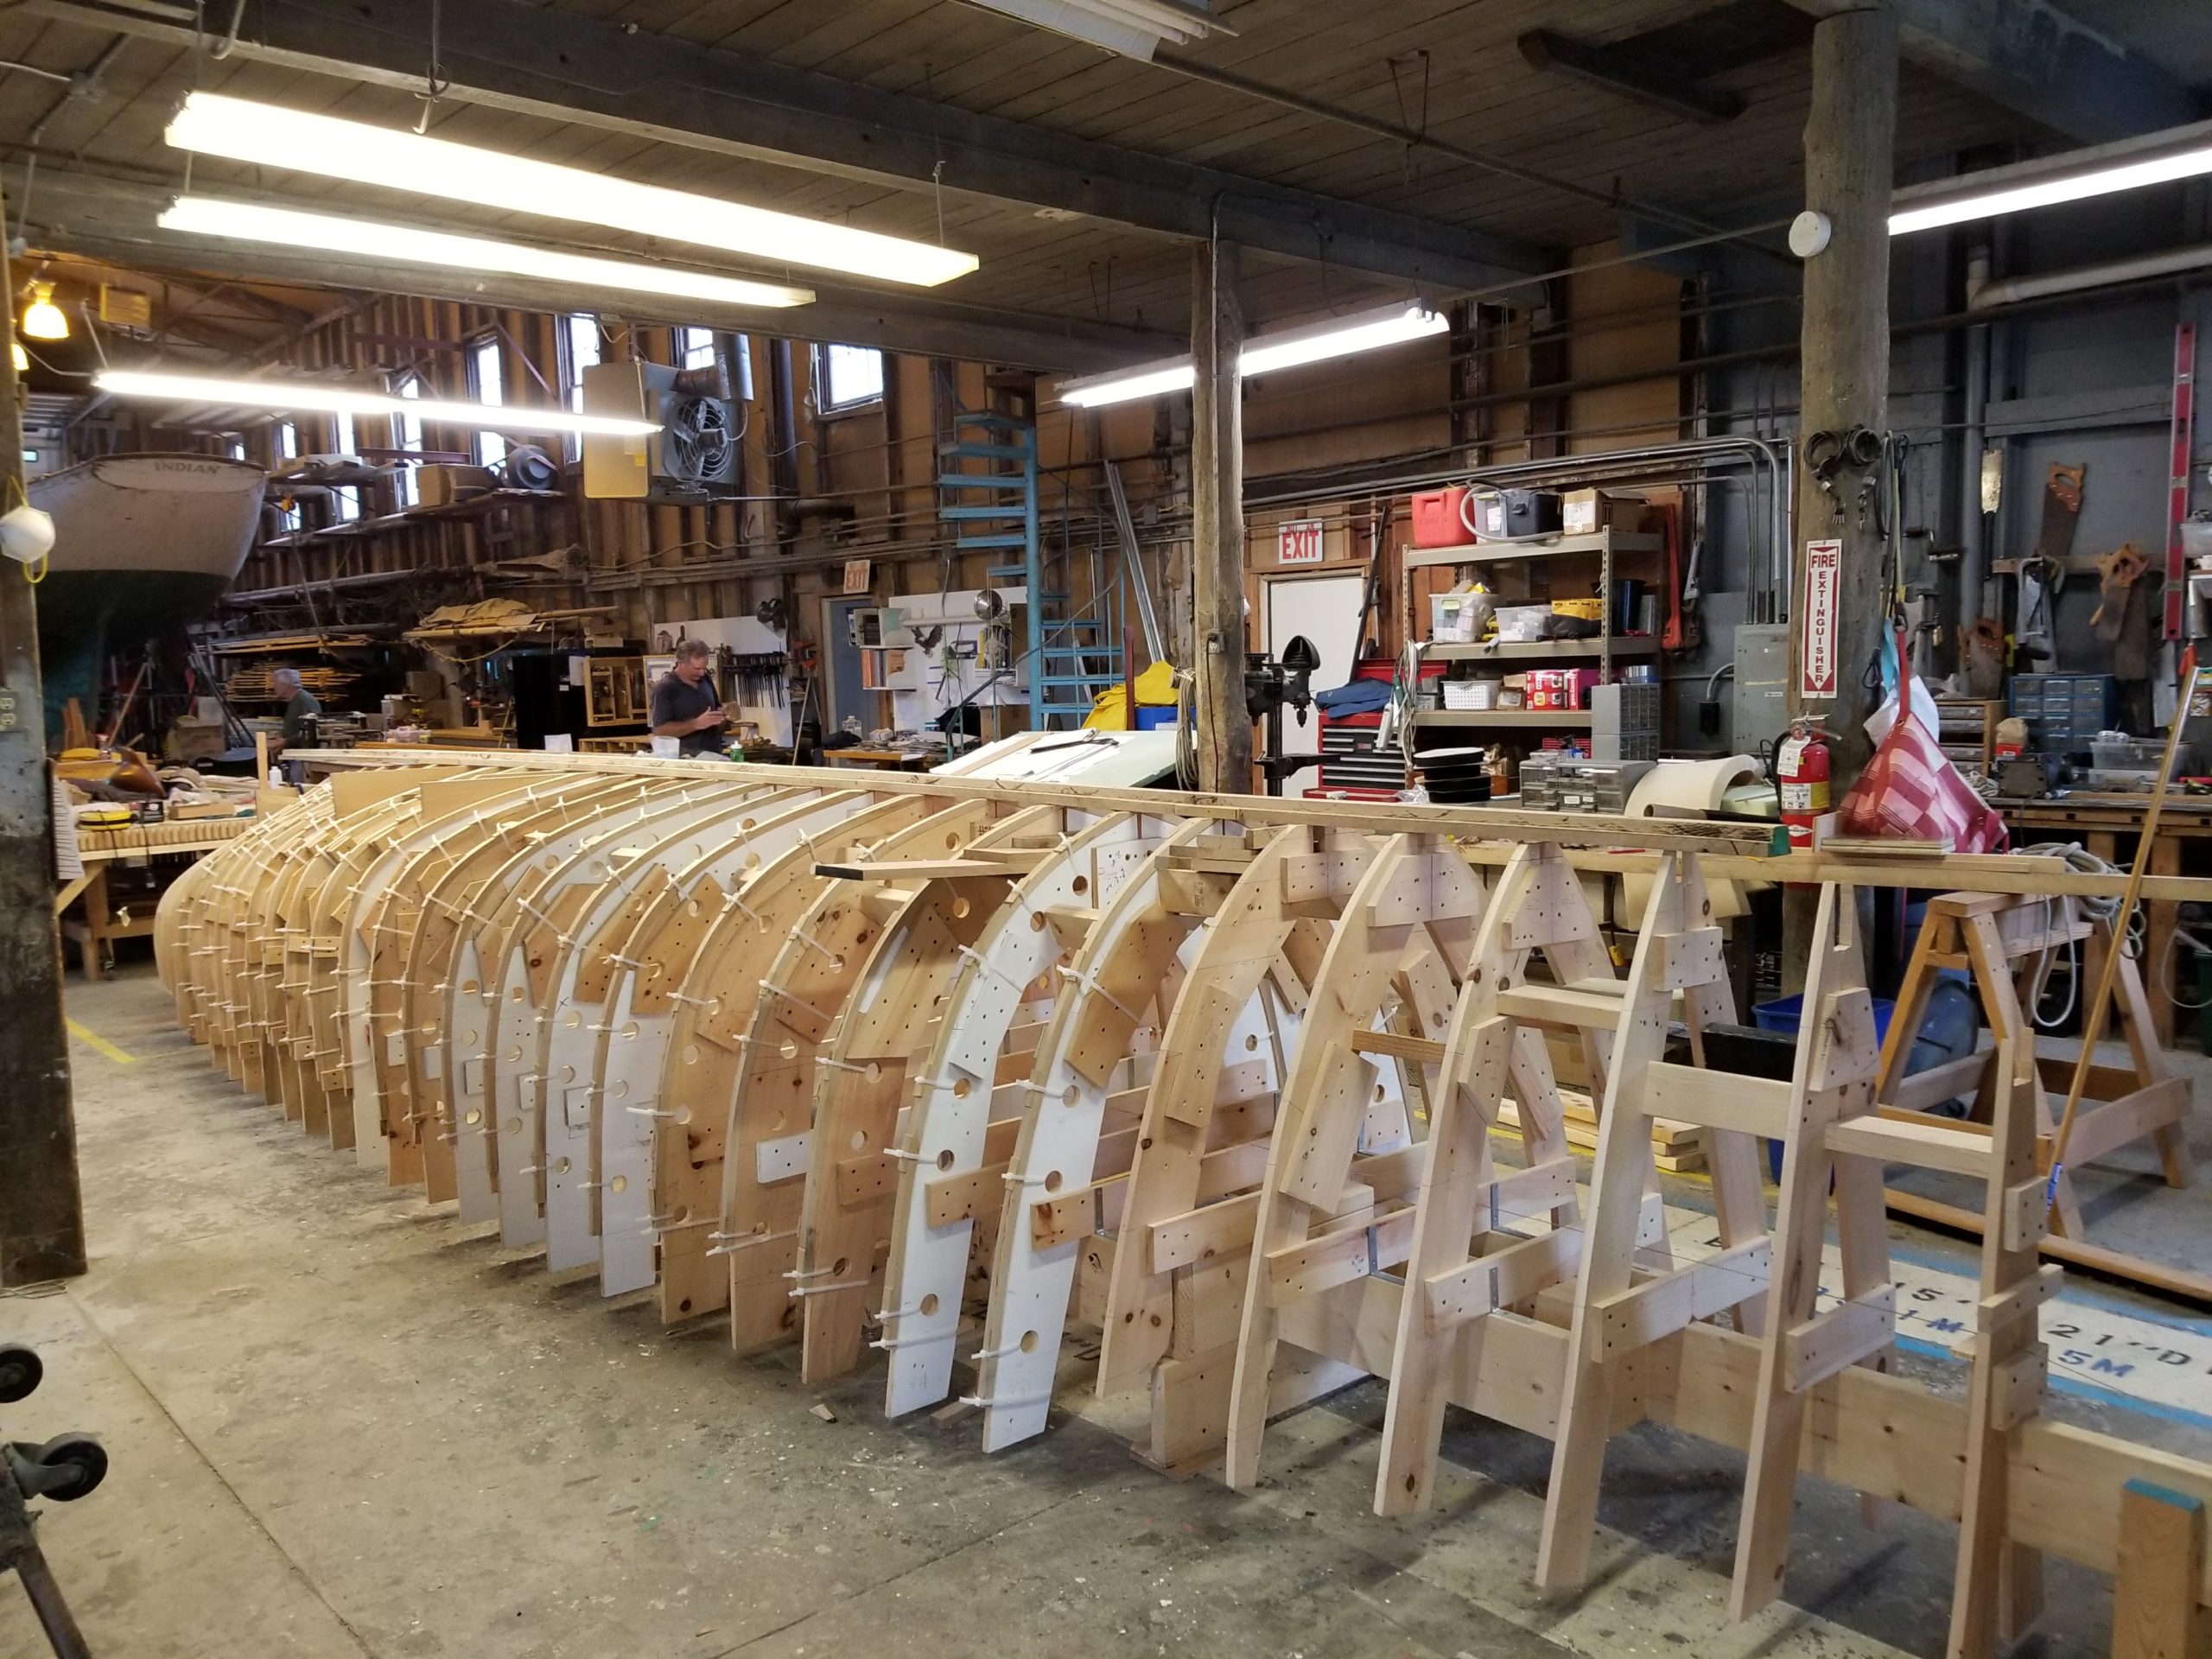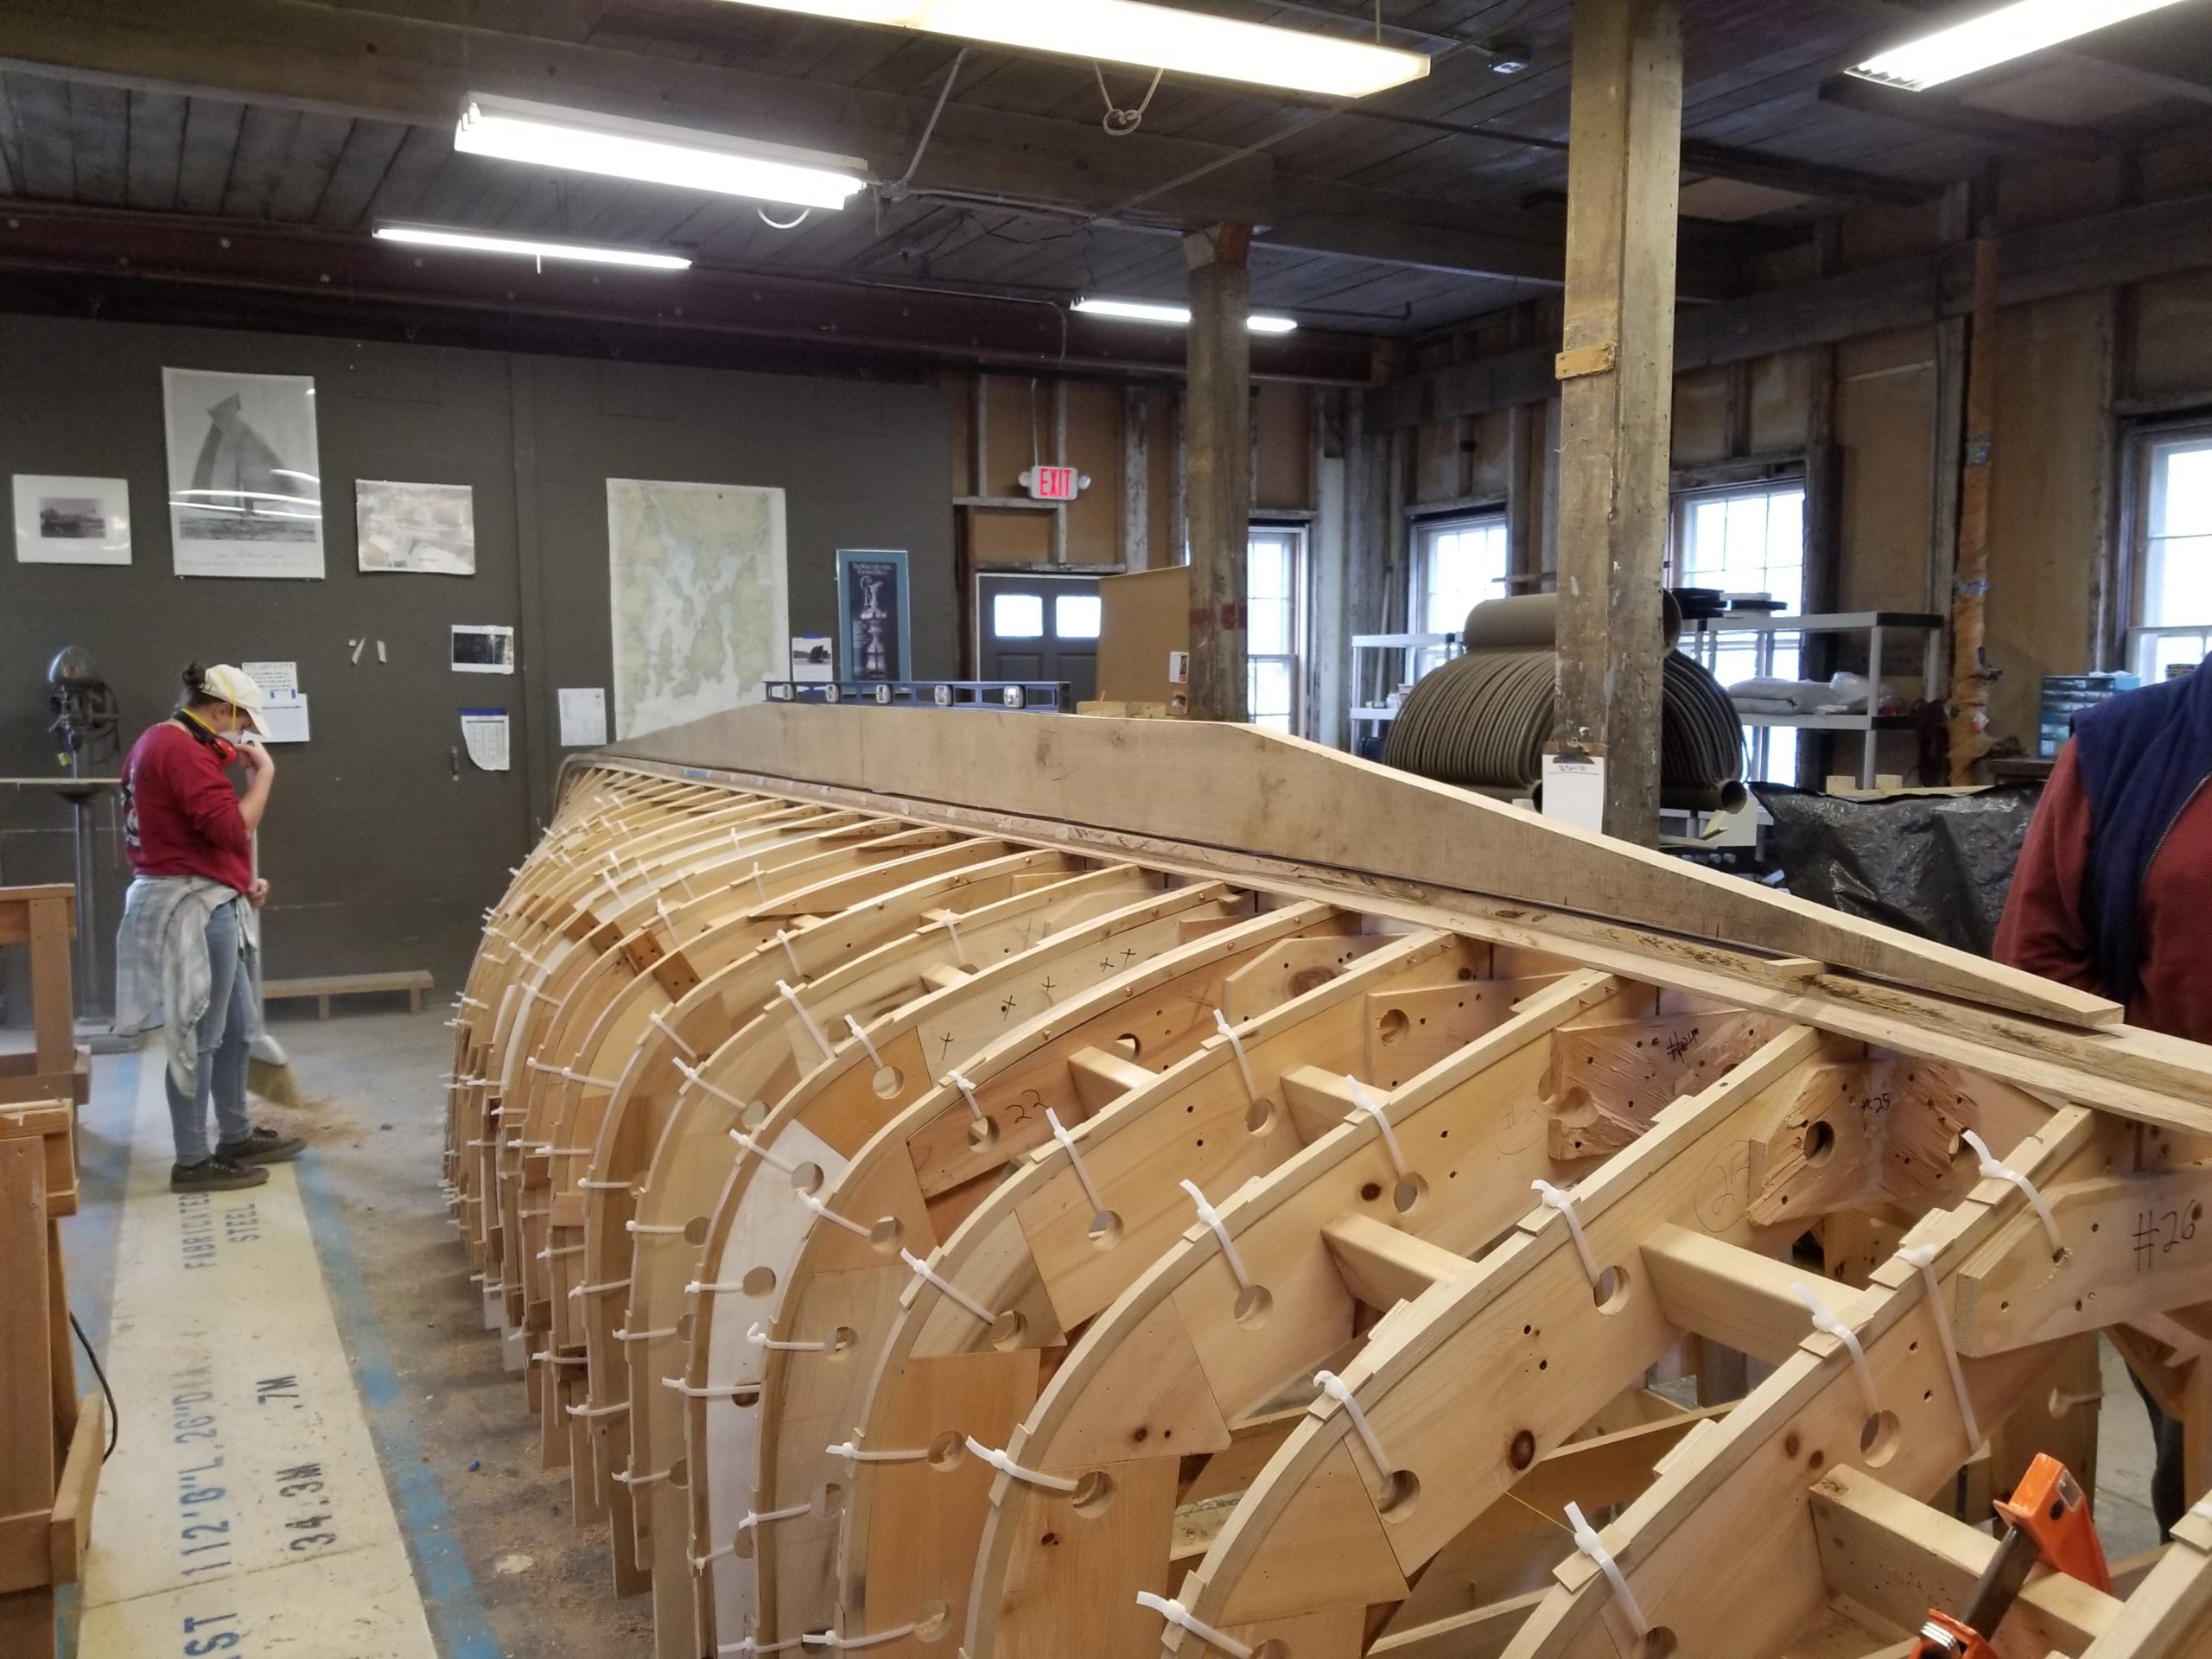
Keel is now fitted in place at the height indicated on the molds and ribs shaped to receive and fit to the keel. Ribs are notched flush to the ledge on the keel as both will receive the garboard plank, and for many stations that rib extends under the keel.
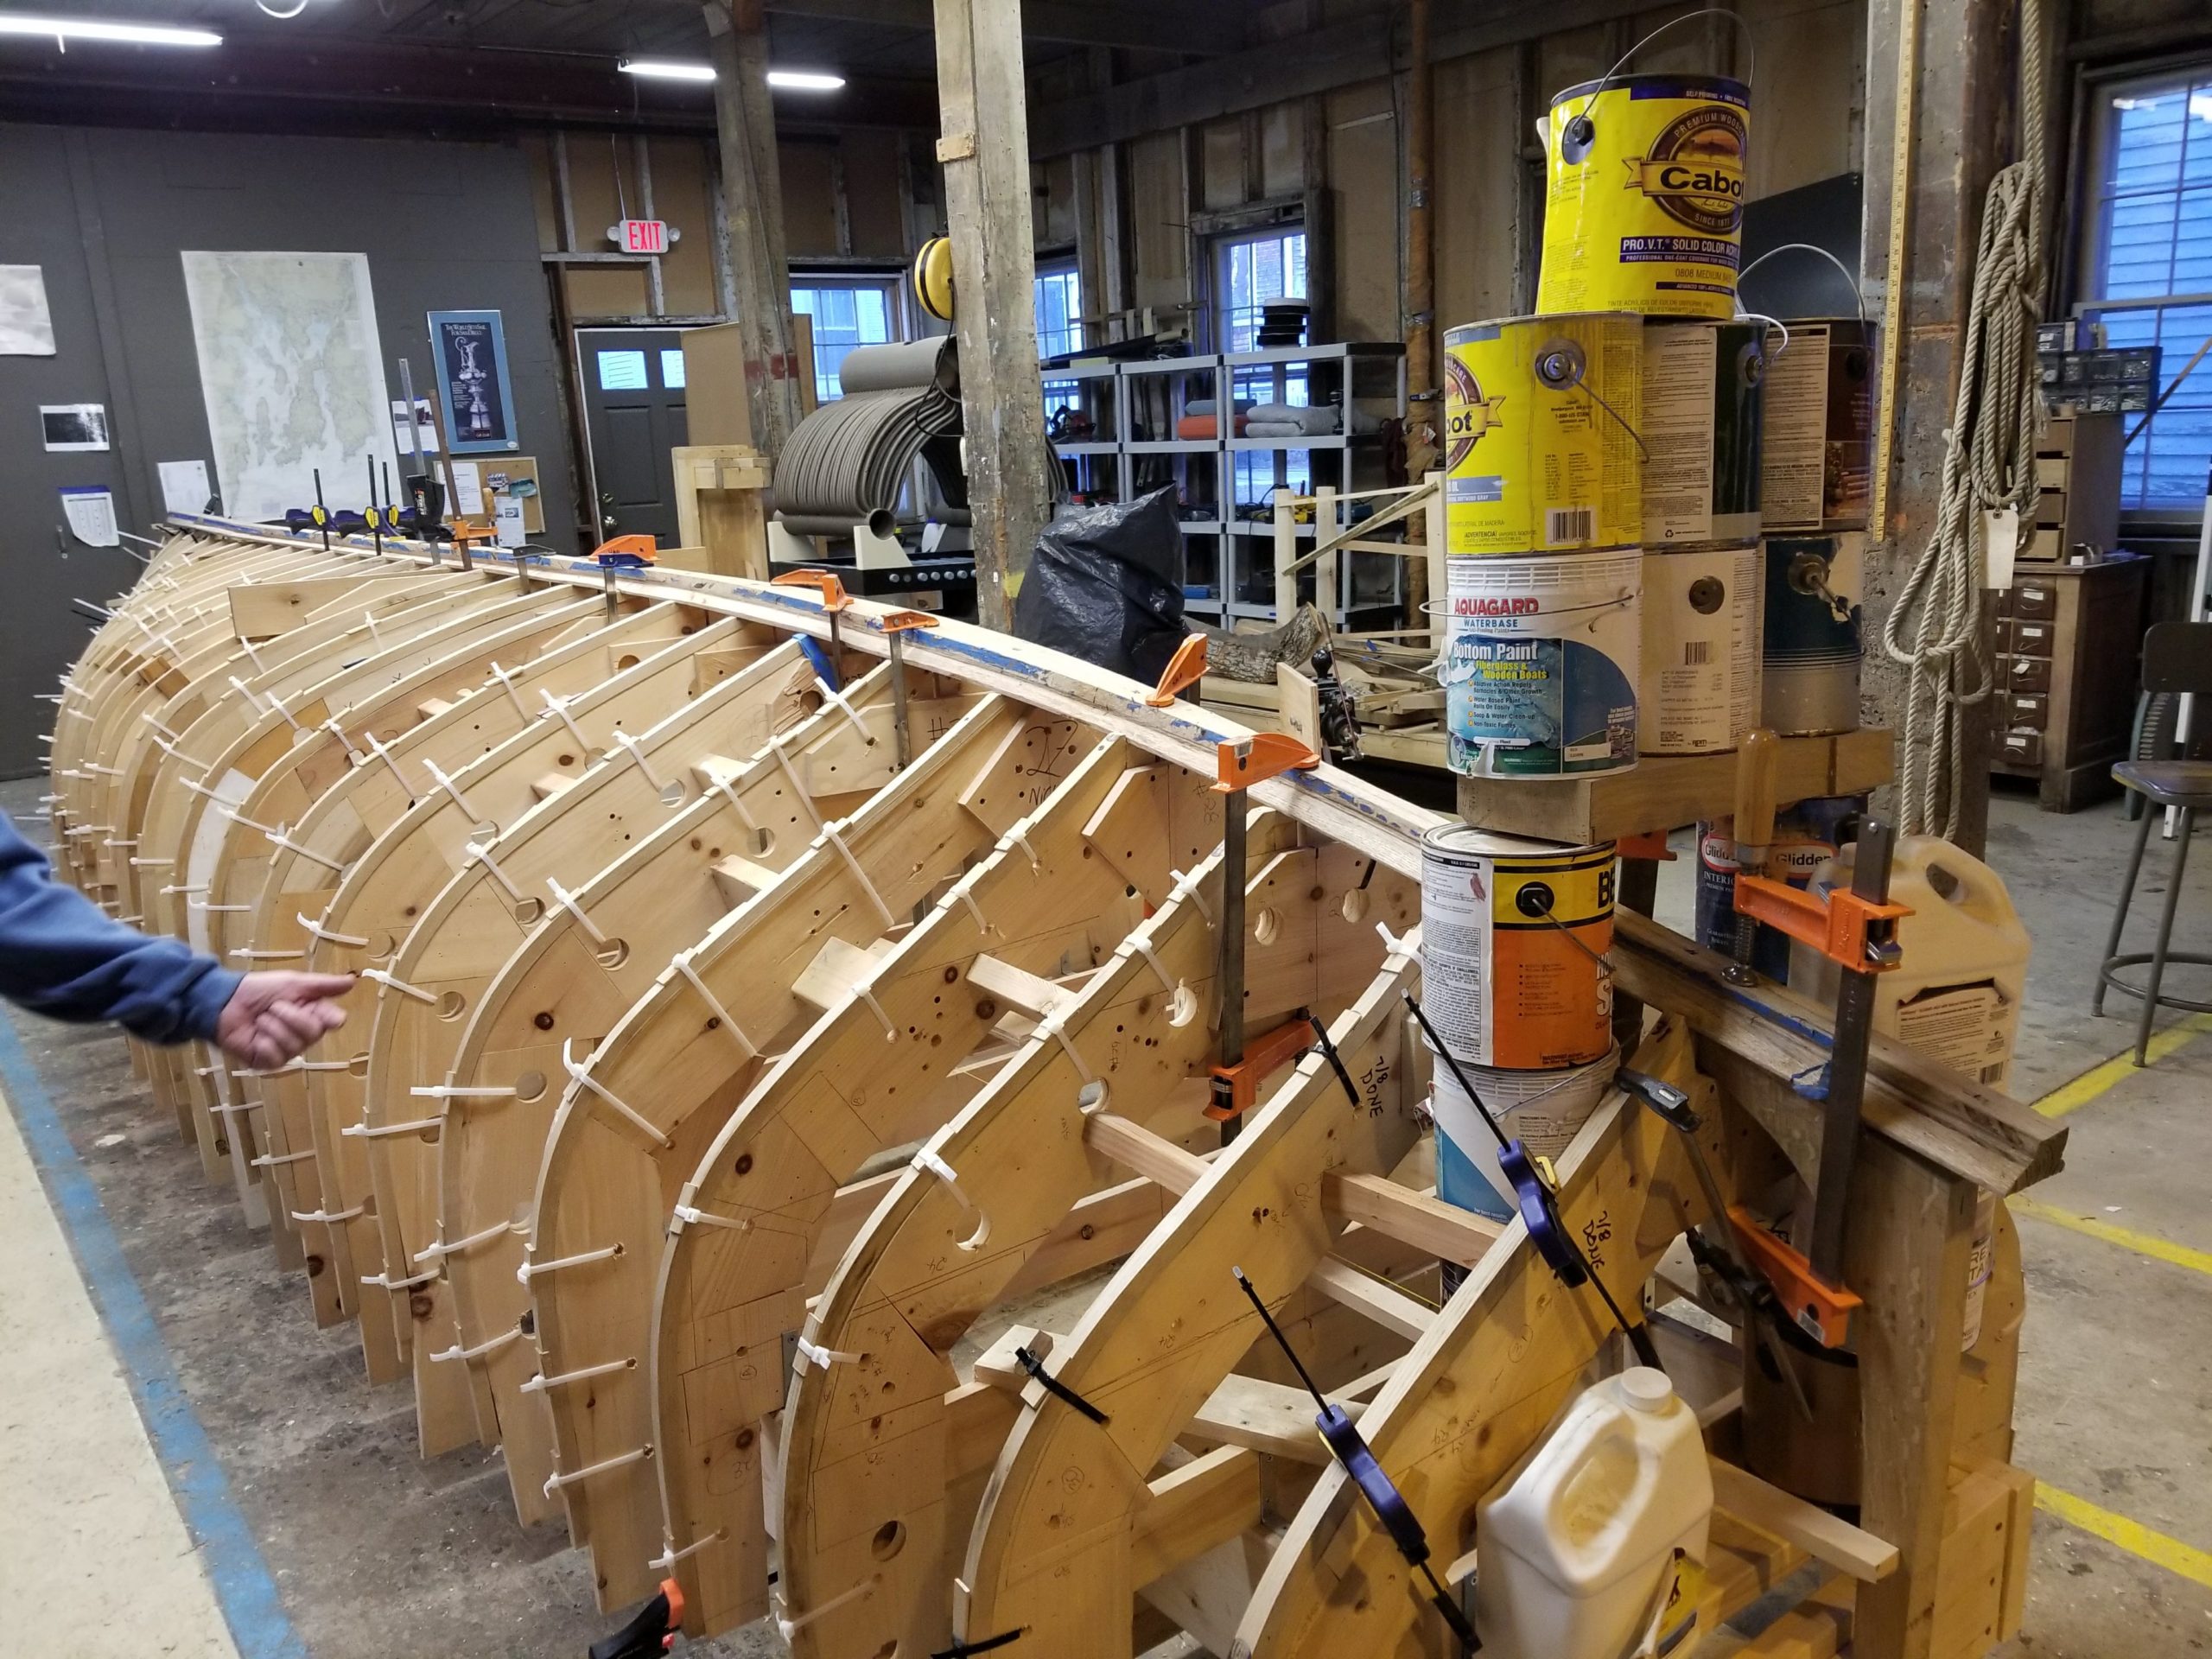
Keel was then steamed and bent to conform, but as you can see even this sized oak keel can lift a 2x10 pine platform out of shape, so paint cans were added to hold everything in place!
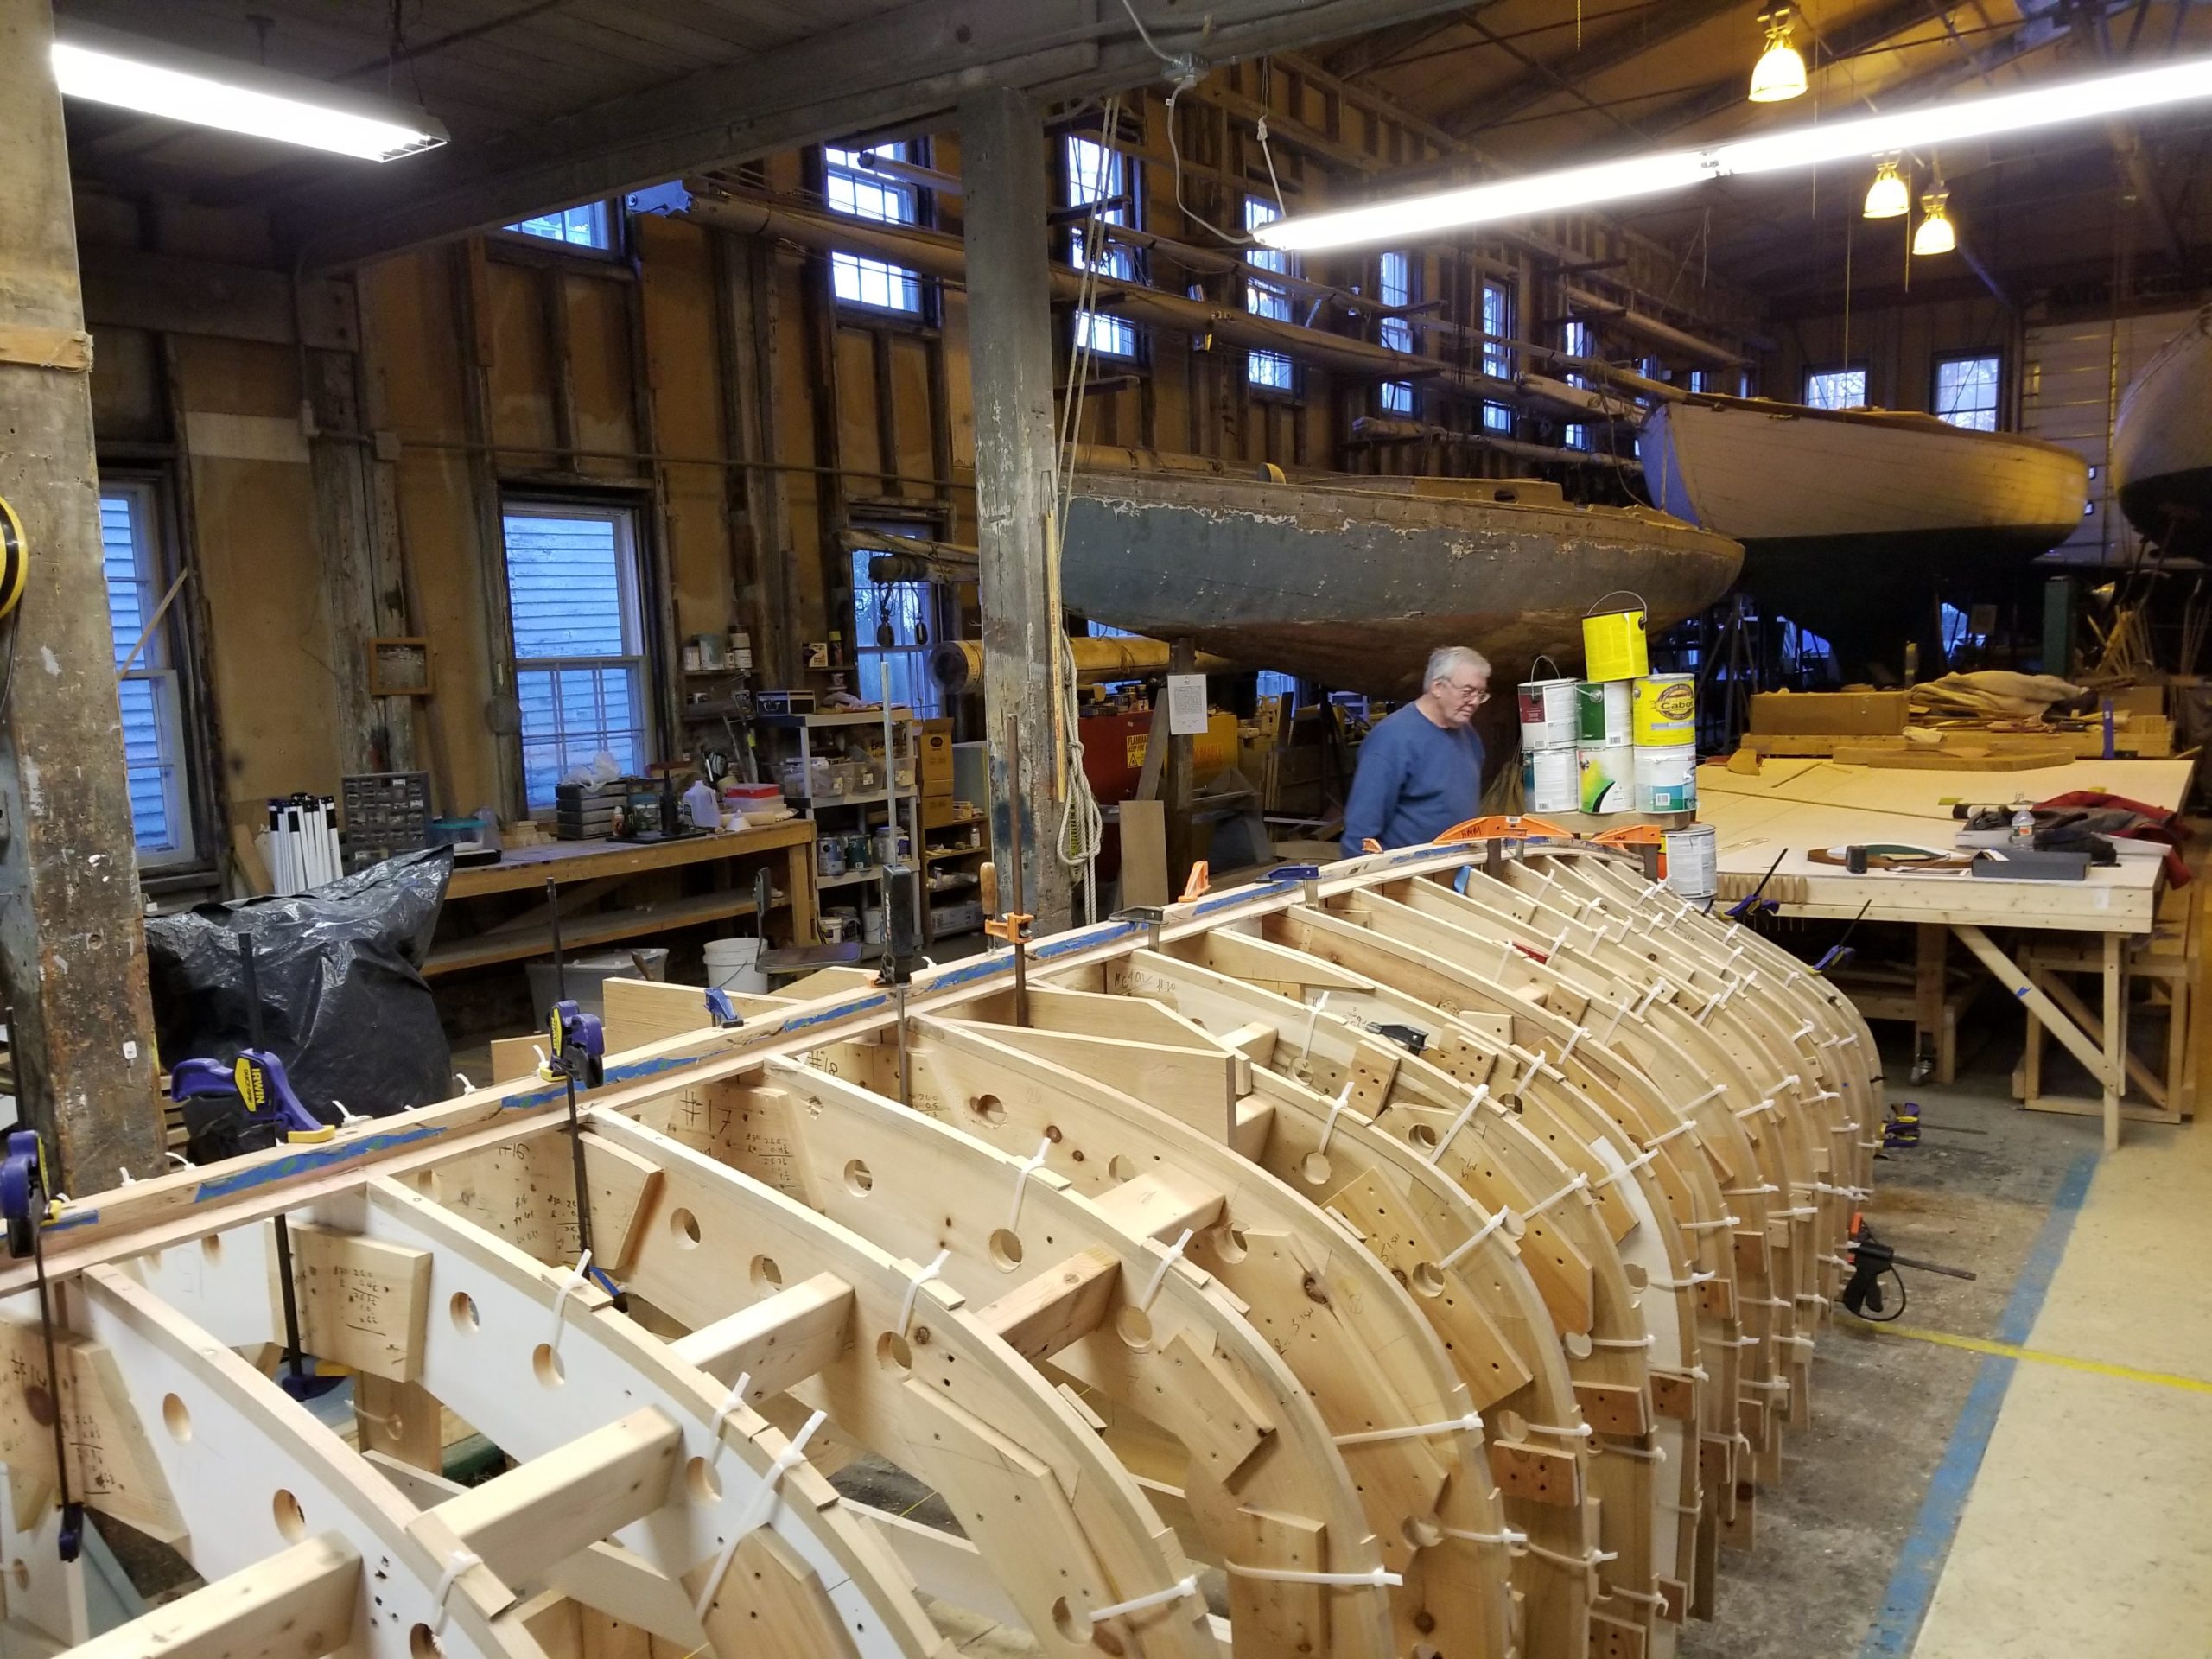
I've failed to mention the oak floor timbers, but there they are in the fourth picture. Itty-bitty little things except where two bulkheads and engine and boiler mounts are placed. We begin to really appreciate that this design is really one where there is a keel strong-back attached to some larger floor timbers to hold the heavy steam system to which the rest of the hull is much more lightly attached! (We should also note that several floor timbers where the shaft penetrates the hull are actually metal.)
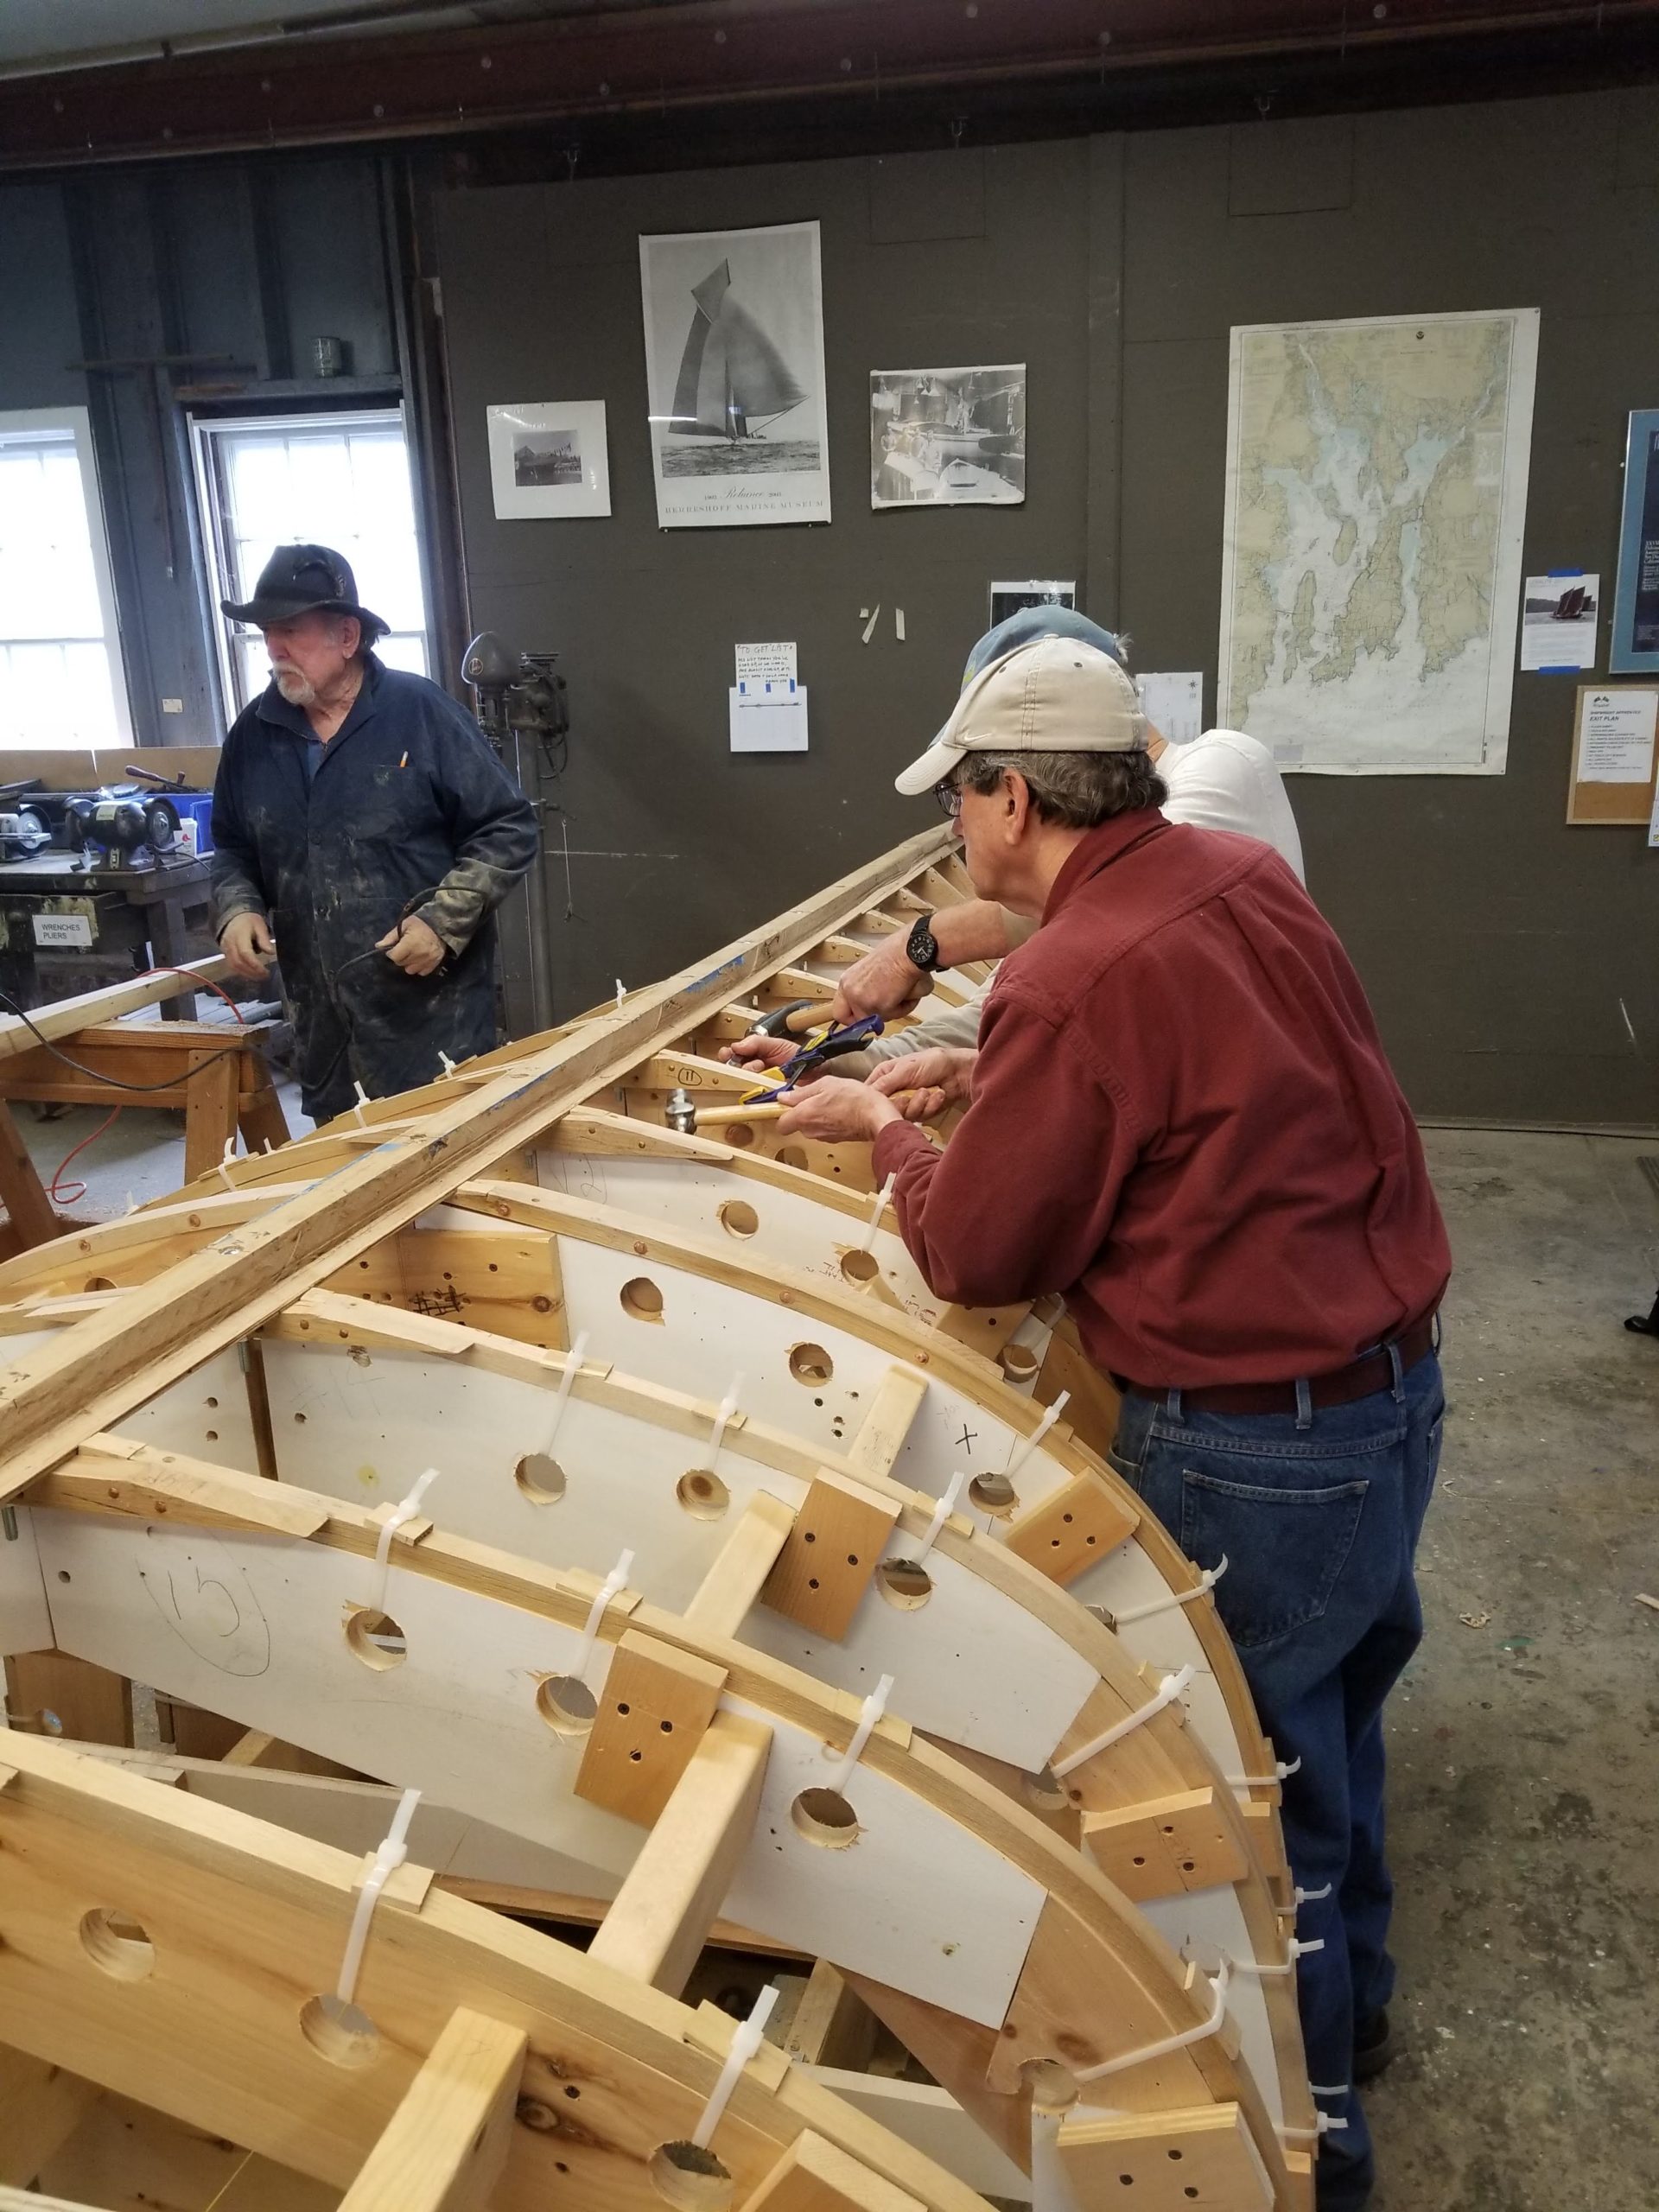
Jim and Dutch are riveting floor timbers to ribs, learning new terms and techniques such as copper rivets, roves, special hammers and rove-setting tools. The floor timbers are temporarily bolted in place to the keel. Bill is in the background having aligned and drilled bolt holes for False Keel, Keel and Floor Timbers and doing final fits of false keel to keel